Introduction
Google Ads is also one of the most effective platforms to consider in case you are ready to develop your business by using Internet sources, attract attention to your website, or sell your products within the shortest possible time. However, there are numerous amateurs who commit errors during the establishment of their Google Ads account. An inappropriate layout may be a money waster, yield low-quality traffic, and result in a poor outcome.
This is the all-inclusive tutorial that will take you through the steps to create a Google Ads account the proper way. The paper is written in plain English and hence easy to understand by beginners.
At the conclusion of this article, you will be aware of:
- The process of developing a Google Ads account.
- The way to establish proper billing.
- The choice of the type of campaign.
- The correct way of choosing keywords.
- How to structure campaigns
- Preventive actions against mistakes.
Let’s start.
What is Google Ads?
The setup of Google Ads is an online advertising site developed by Google. It enables companies to display advertisements on:
- Google Search results
- YouTube
- Websites of the Google Display Network.
- Mobile apps
- Gmail
You are only charged once an individual clicks your advertisement (also referred to as PPC, Pay Per Click).
Why Setting Up Google Ads Correctly is important.
Many people create an account quickly without planning. That is a big mistake.
If your setup is wrong:
- You can lose money fast
- You can appeal to the wrong audience.
- Your ads may not convert
- Your Quality Score may be low
But had you everything in place at the start:
- You get better results
- You pay less per click
- You bring on the right customers.
- Your campaigns are doing better.
Next, we will discuss the step-by-step setup process.
Step 1: Develop a Google Ads Account.
1. Go to the Google Ads Website
Go to the address ads.google.com and press the Start Now button.
2. Sign in with Gmail
Recommended: Use your business Google Ads account setup.
It is not advisable to use a personal email in business advertising.
3. Switch to Expert Mode
Very Important Step
Google attempts to advance novices into Smart Mode.
At the bottom, click on Switch to Expert Mode.
Why?
Since Expert Mode provides you with
- Full control
- Better targeting
- Advanced settings
- Proper campaign structure
Step 2: Establish Billing in a Proper Way.
Once you have created your account, you have to enter billing information.
Selecting a country and a time zone wisely.
These are not editable at a later stage.
Select:
- Correct country
- Correct time zone
- Correct currency
- In case of targeting the UK customers, select:
- Country: United Kingdom
- Currency: GBP (£)
Add Payment Method
- You can use:
- Debit card
- Credit card
- Bank account (in certain countries)
Google Ads is billed either on a prepaid or post paid basis, depending on the country.
The third step is to connect Google Analytics and additional tools.
This plays a very critical role in performance tracking.
- You should link:
- Google Analytics
- Google Tag Manager (not mandatory, but suggested)
- Google Search Console
Why?
- Because tracking helps you:
- See conversions
- Measure traffic
- Improve performance
- Optimize campaigns
In the absence of tracking, you are just shooting blind during the ad.
Step 4: Conversion Tracking.
Conversions have to be established before running ads.
- Conversion means:
- Purchase
- Form submission
- Phone call
- Sign up
- In order to implement conversion tracking:
- Go to Tools & Settings
- Click Conversions
- Click New Conversion Action
- Choose Website
If you skip this step, you won’t know which ads are making money.
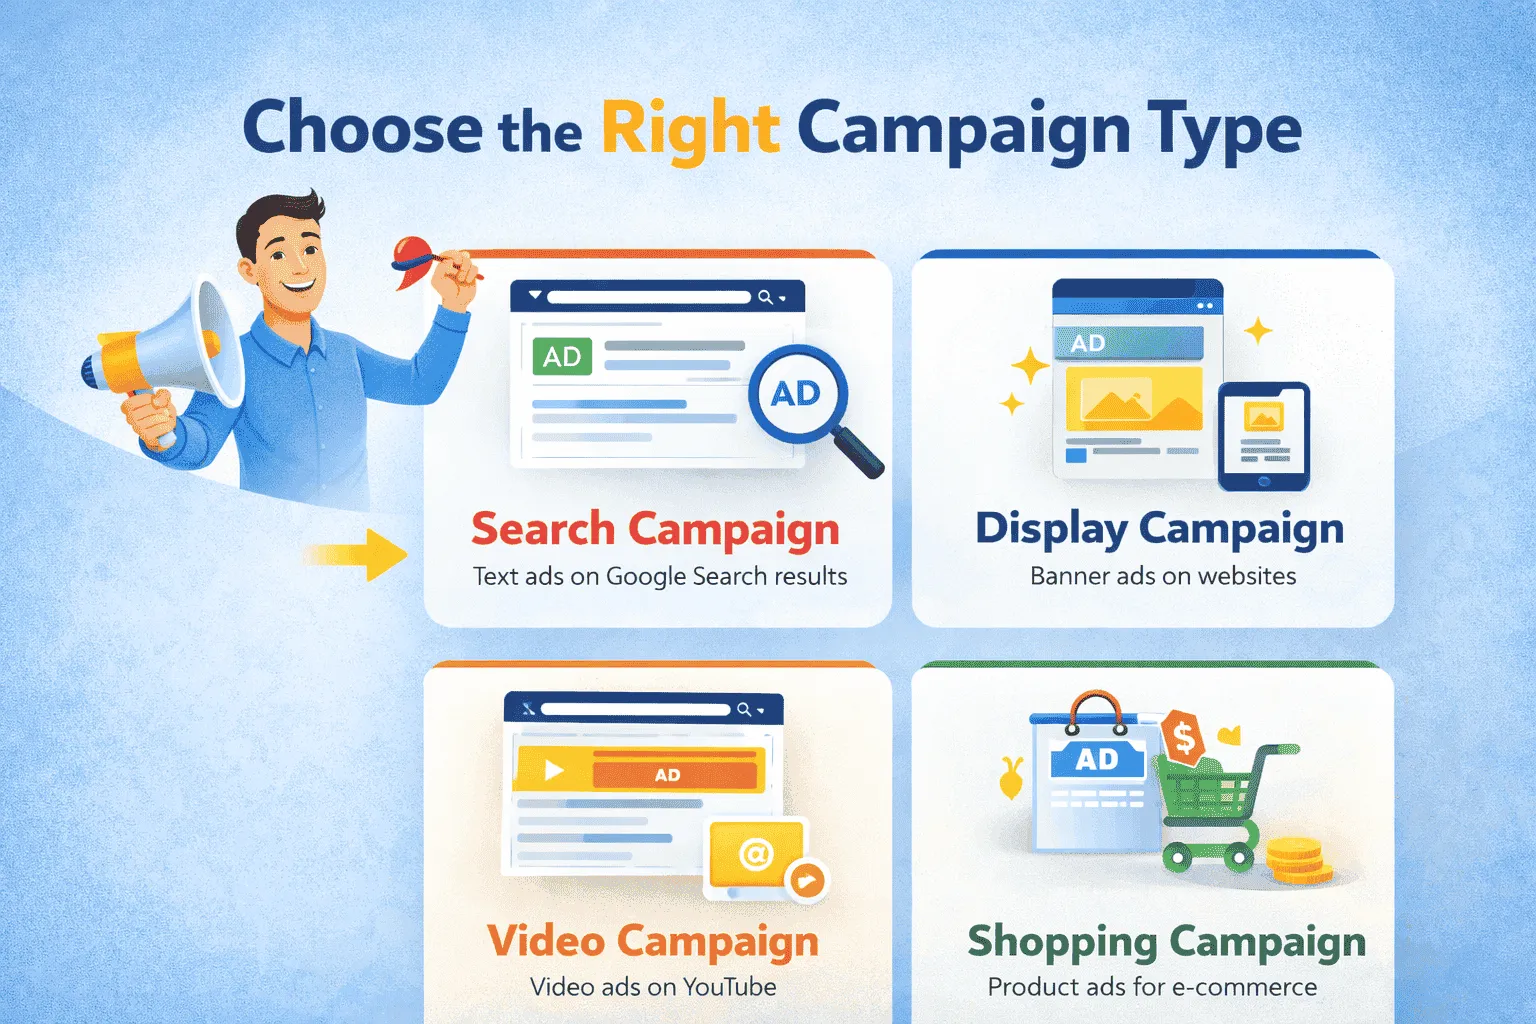
Step 5: Choose the Right Campaign Type

Google Ads offers different campaign types.
1. Search Campaign (Best for Beginners)
Shows ads on Google search results.
Best for:
-
Service businesses
-
Local businesses
-
E-commerce
-
Lead generation
2. Display Campaign
Shows banner ads on websites.
3. Video Campaign
Shows ads on YouTube.
4. Shopping Campaign
For e-commerce products.
5. Performance Max
Advanced automated campaign.
👉 For beginners, start with Search Campaign.
Step 6: Choose the Right Campaign Goal
Google will ask for your goal.
Options include:
-
Sales
-
Leads
-
Website traffic
-
Brand awareness
Choose the goal based on your business objective.
Example:
-
If you want calls, choose leads.
-
If you sell products, choose Sales
Step 7: Location Targeting (Very Important)
Do NOT select “All Countries” unless your business is global.
Choose:
-
Specific country
-
Specific city
-
Radius targeting (for local businesses)
Also select:
“Presence: People in or regularly in your targeted location.”
This avoids useless clicks.
Step 8: Set Your Budget Properly
Start small.
For beginners:
-
$5–$15 per day for testing
Never start with a high budget without testing.
Increase the budget only when:
-
Conversions are coming
-
Cost per conversion is good
Step 9: Choose Bidding Strategy Carefully
For beginners:
Start with:
-
Manual CPC (more control)
OR -
Maximize Clicks (if no conversion data)
After getting 20–30 conversions:
Switch to:
-
Maximize Conversions
-
Target CPA
Do not use automated bidding without data.
Step 10: Keyword Research (Most Important Part)
Bad keywords = wasted money.
Use:
-
Google Keyword Planner
-
Ubersuggest
-
Ahrefs
-
SEMrush
Choose:
✔ High-intent keywords
✔ Buyer keywords
✔ Long-tail keywords
Example:
Bad keyword:
-
shoes
Good keyword:
-
Buy running shoes online in the UK
Step 11: Use Match Types Correctly
There are 3 main match types:
1. Broad Match
Very wide targeting (risky for beginners)
2. Phrase Match
Safer option
Example: “digital marketing course”
3. Exact Match
Best for control
Example: [digital marketing course online]
For beginners:
Use a phrase and exact match combination.
Step 12: Add Negative Keywords
This is a must.
Negative keywords stop your ads from showing on the wrong searches.
Example:
If you sell paid courses, add:
-
free
-
cheap
-
download
-
pdf
This saves money.
Step 13: Write High-Converting Ad Copy
Your ad should include:
-
Main keyword in headline
-
Clear benefit
-
Strong CTA (Call to Action)
Example:
Headline:
Best Digital Marketing Course in the UK
Description:
Enroll Today. Expert Trainers. Affordable Fees. Limited Seats Available.
Always create:
-
3–5 headlines
-
2–4 descriptions
Google will test and optimize.
Step 14: Use Ad Extensions
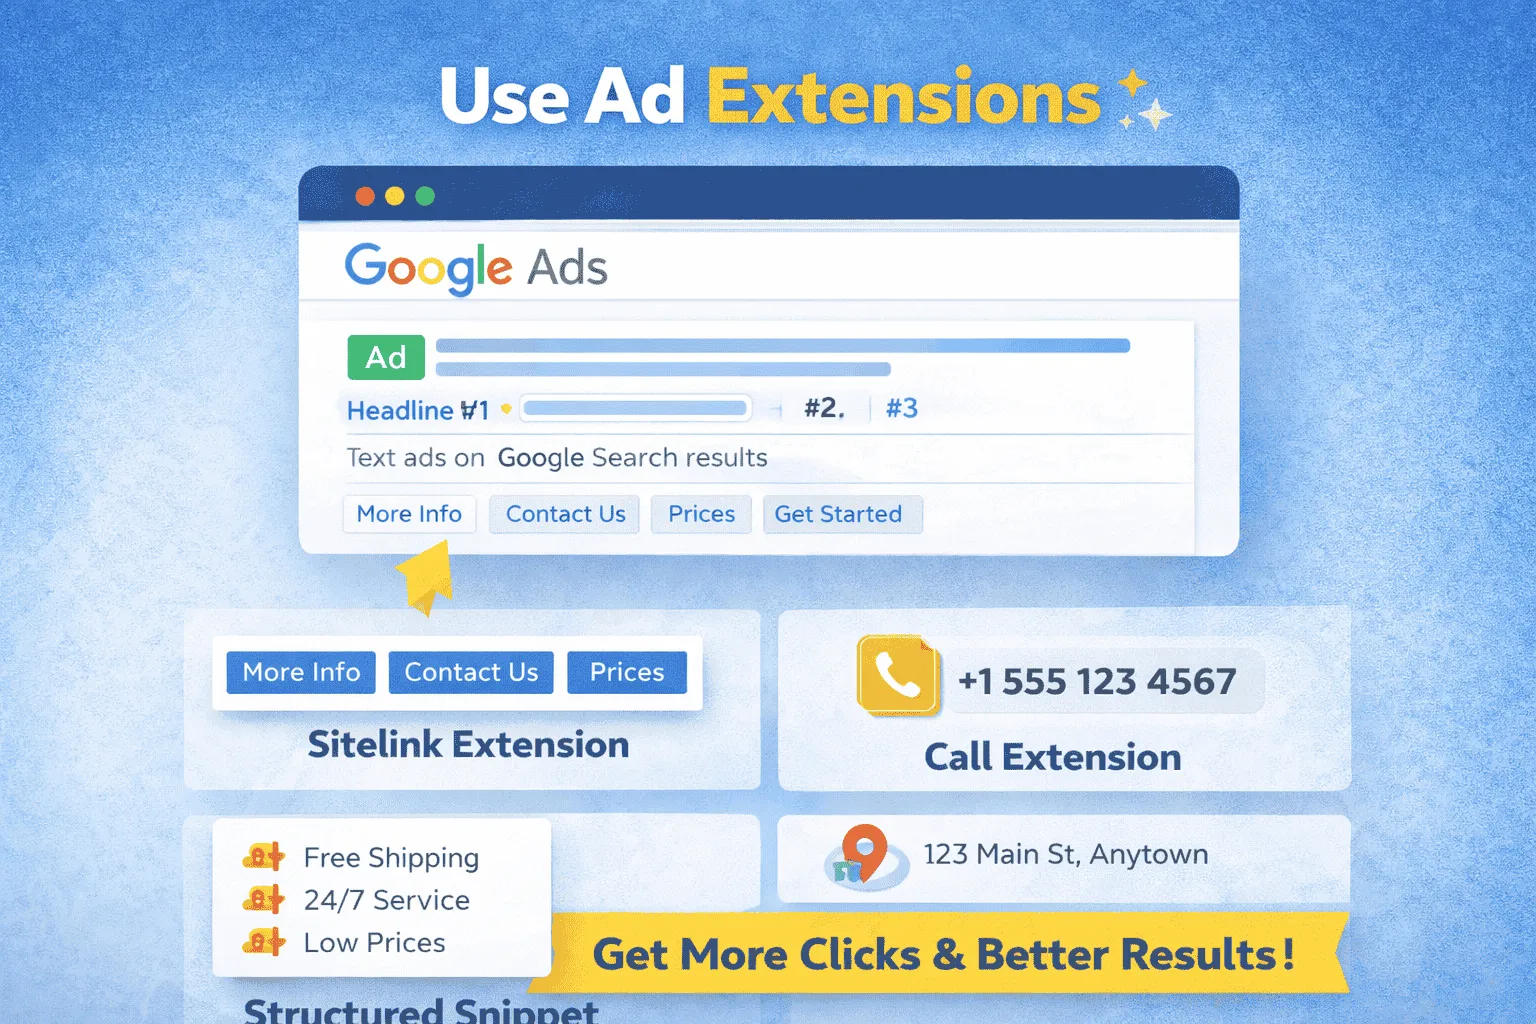
Ad extensions increase CTR.
- Important extensions:
- Sitelink extension
- Call extension
- Callout extension
- Structured snippet
- Location extension
The further extensions are made, the more advertisements are seen.
Step 15: Structure the campaign appropriately.
Correct structure:
Campaign
→ Ad Groups
→ Keywords
→ Ads
NO, do not include 50 keywords within one ad group.
Best practice:
Each ad group consists of 5-10 similar keywords.
- This improves:
- Quality Score
- Relevance
CTR
Step 16: Optimize Landing Page
- Your landing page must:
- Match ad keyword
- Load fast
- Be mobile-friendly
- Have a clear CTA
- Have trust signals
Google landing page quality.
Poor landing page = expensive per click.
Novice Errors to Play it Right.
❌ Using broad match only
❌ No negative keywords
❌ No conversion tracking
❌ Wrong location targeting
❌ Sending traffic to homepage
❌ No ad extensions
❌ Not testing ads
Avoid these mistakes, and you will save money.
How Long Should You Test a Campaign?
Do not stop ads for 1–2 days.
Test for at least:
-
7–14 days
OR -
100+ clicks
Then analyze data and optimize.
How to Optimize After Setup
After running ads:
Check:
-
CTR
-
Cost per click
-
Conversion rate
-
Cost per conversion
-
Search terms report
Pause:
-
Low-performing keywords
-
Irrelevant search terms
Increase budget for:
-
High-converting keywords
Advanced Tips for Better Results
-
Use SKAG structure (Single Keyword Ad Group)
-
Use remarketing campaigns
-
Test multiple landing pages
-
A/B test ads
-
Improve Quality Score
Conclusion
It is highly important to set up Google Ads in the correct way. Most beginners end up wasting money because they are in a hurry.
In case you adhere to this step-by-step guide:
- You will not make typical errors.
- You will get better ROI
- It will bring the correct audience.
- You will be in control of your budget.
The setup of Google Ads is an effective tool, and it becomes effective only when it is configured properly.